When a record is loaded into the nest, whether that is through an automatic search, a file import, manual import, etc., it is assigned a reference ID (Ref ID) based on the order it was found and uploaded.
For example, if a conducted search found 32 records, the first record uploaded would have Ref ID = 1, the second would have Ref ID = 2, all the way up to record 32 having Ref ID = 32. Any further searches and uploaded records would be assigned 33 and onwards. Any deleted records through deleted searches do not change the Ref IDs of remaining records in the nest, therefore, in this case there will be gaps in ID numbers.
Where to find Ref IDs: In the Workflow #
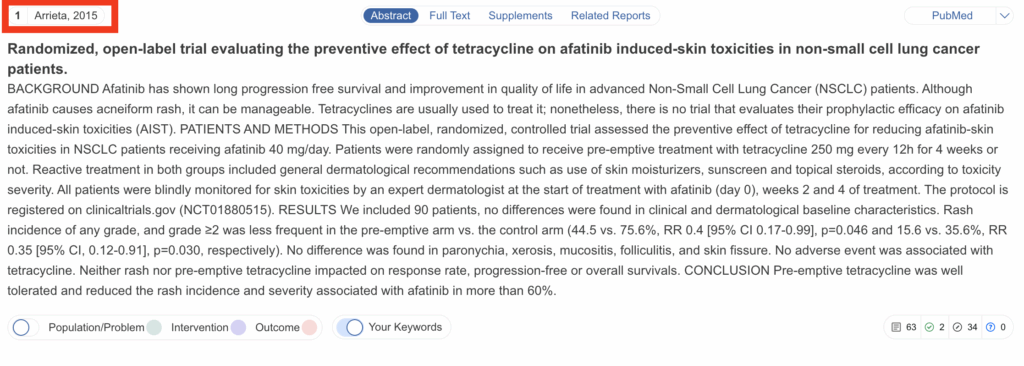
When viewing a study in the workflow, regardless of the stage, the Ref ID is displayed in the top left next to the Author, Year.

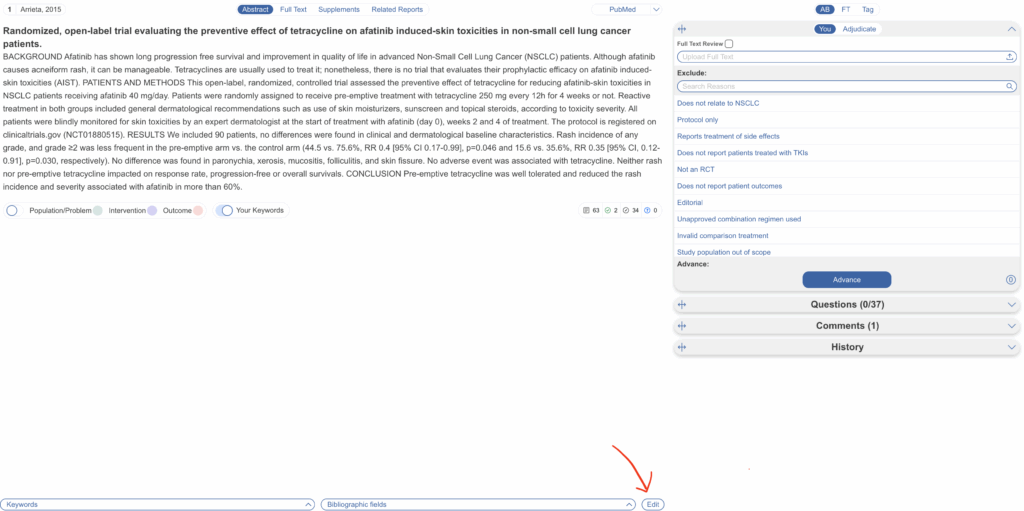
Alternatively, select “Edit” and view the Ref ID in the bibliographic data. You cannot edit the Ref ID of a record.

Where to find Ref IDs: Study Inspector #
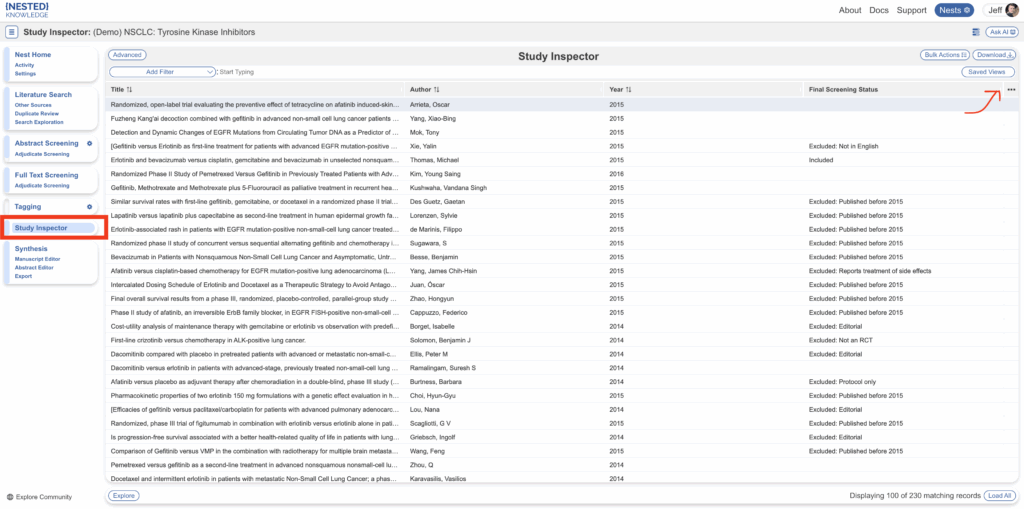
Ref IDs for each study can be found in Study Inspector and can be added as its own column. To do so click the three dots icon, scroll and select Ref ID:

This added column will be present until unchecked, filters can be used and the column remains to indicate Ref IDs.

Filtering via Ref IDs #
You can filter to a specific ID or a range of IDs. First, select the Ref ID filter, a range symbol, a number and hit the plus sign. To filter to multiple, individual records, use a comma “,” to separate each ID.

See all filters offered in Study Inspector.
Allocation by Ref IDs #
All Inspector filters are available in Allocation, so you can Allocate records by Ref ID by filtering to a range of Ref IDs within your nest and then assigning these records to an individual.
Bulk Actions: Full Text and Supplementary Materials #
You can also bulk import Full Text or Supplementary Materials by matching the PDF name to records’ Ref IDs. Learn more here.

