Sign Up and Sign In #
To Sign Up, click here. Fill out your details, verify your email, then head to the Nested Knowledge Homepage to Sign In in the top right. Familiarize yourself with this page using our Nests homepage guidance.
Note: sometimes verification emails can get caught in spam folders so be sure to check them. If you have not received an email, contact us and we can manually verify you.
If your organization has single-sign on (SSO) access, please follow the alternative instructions provided by your Nested Knowledge Support staff/point person. If you’re having issues, please contact us.
Create a new Nest #
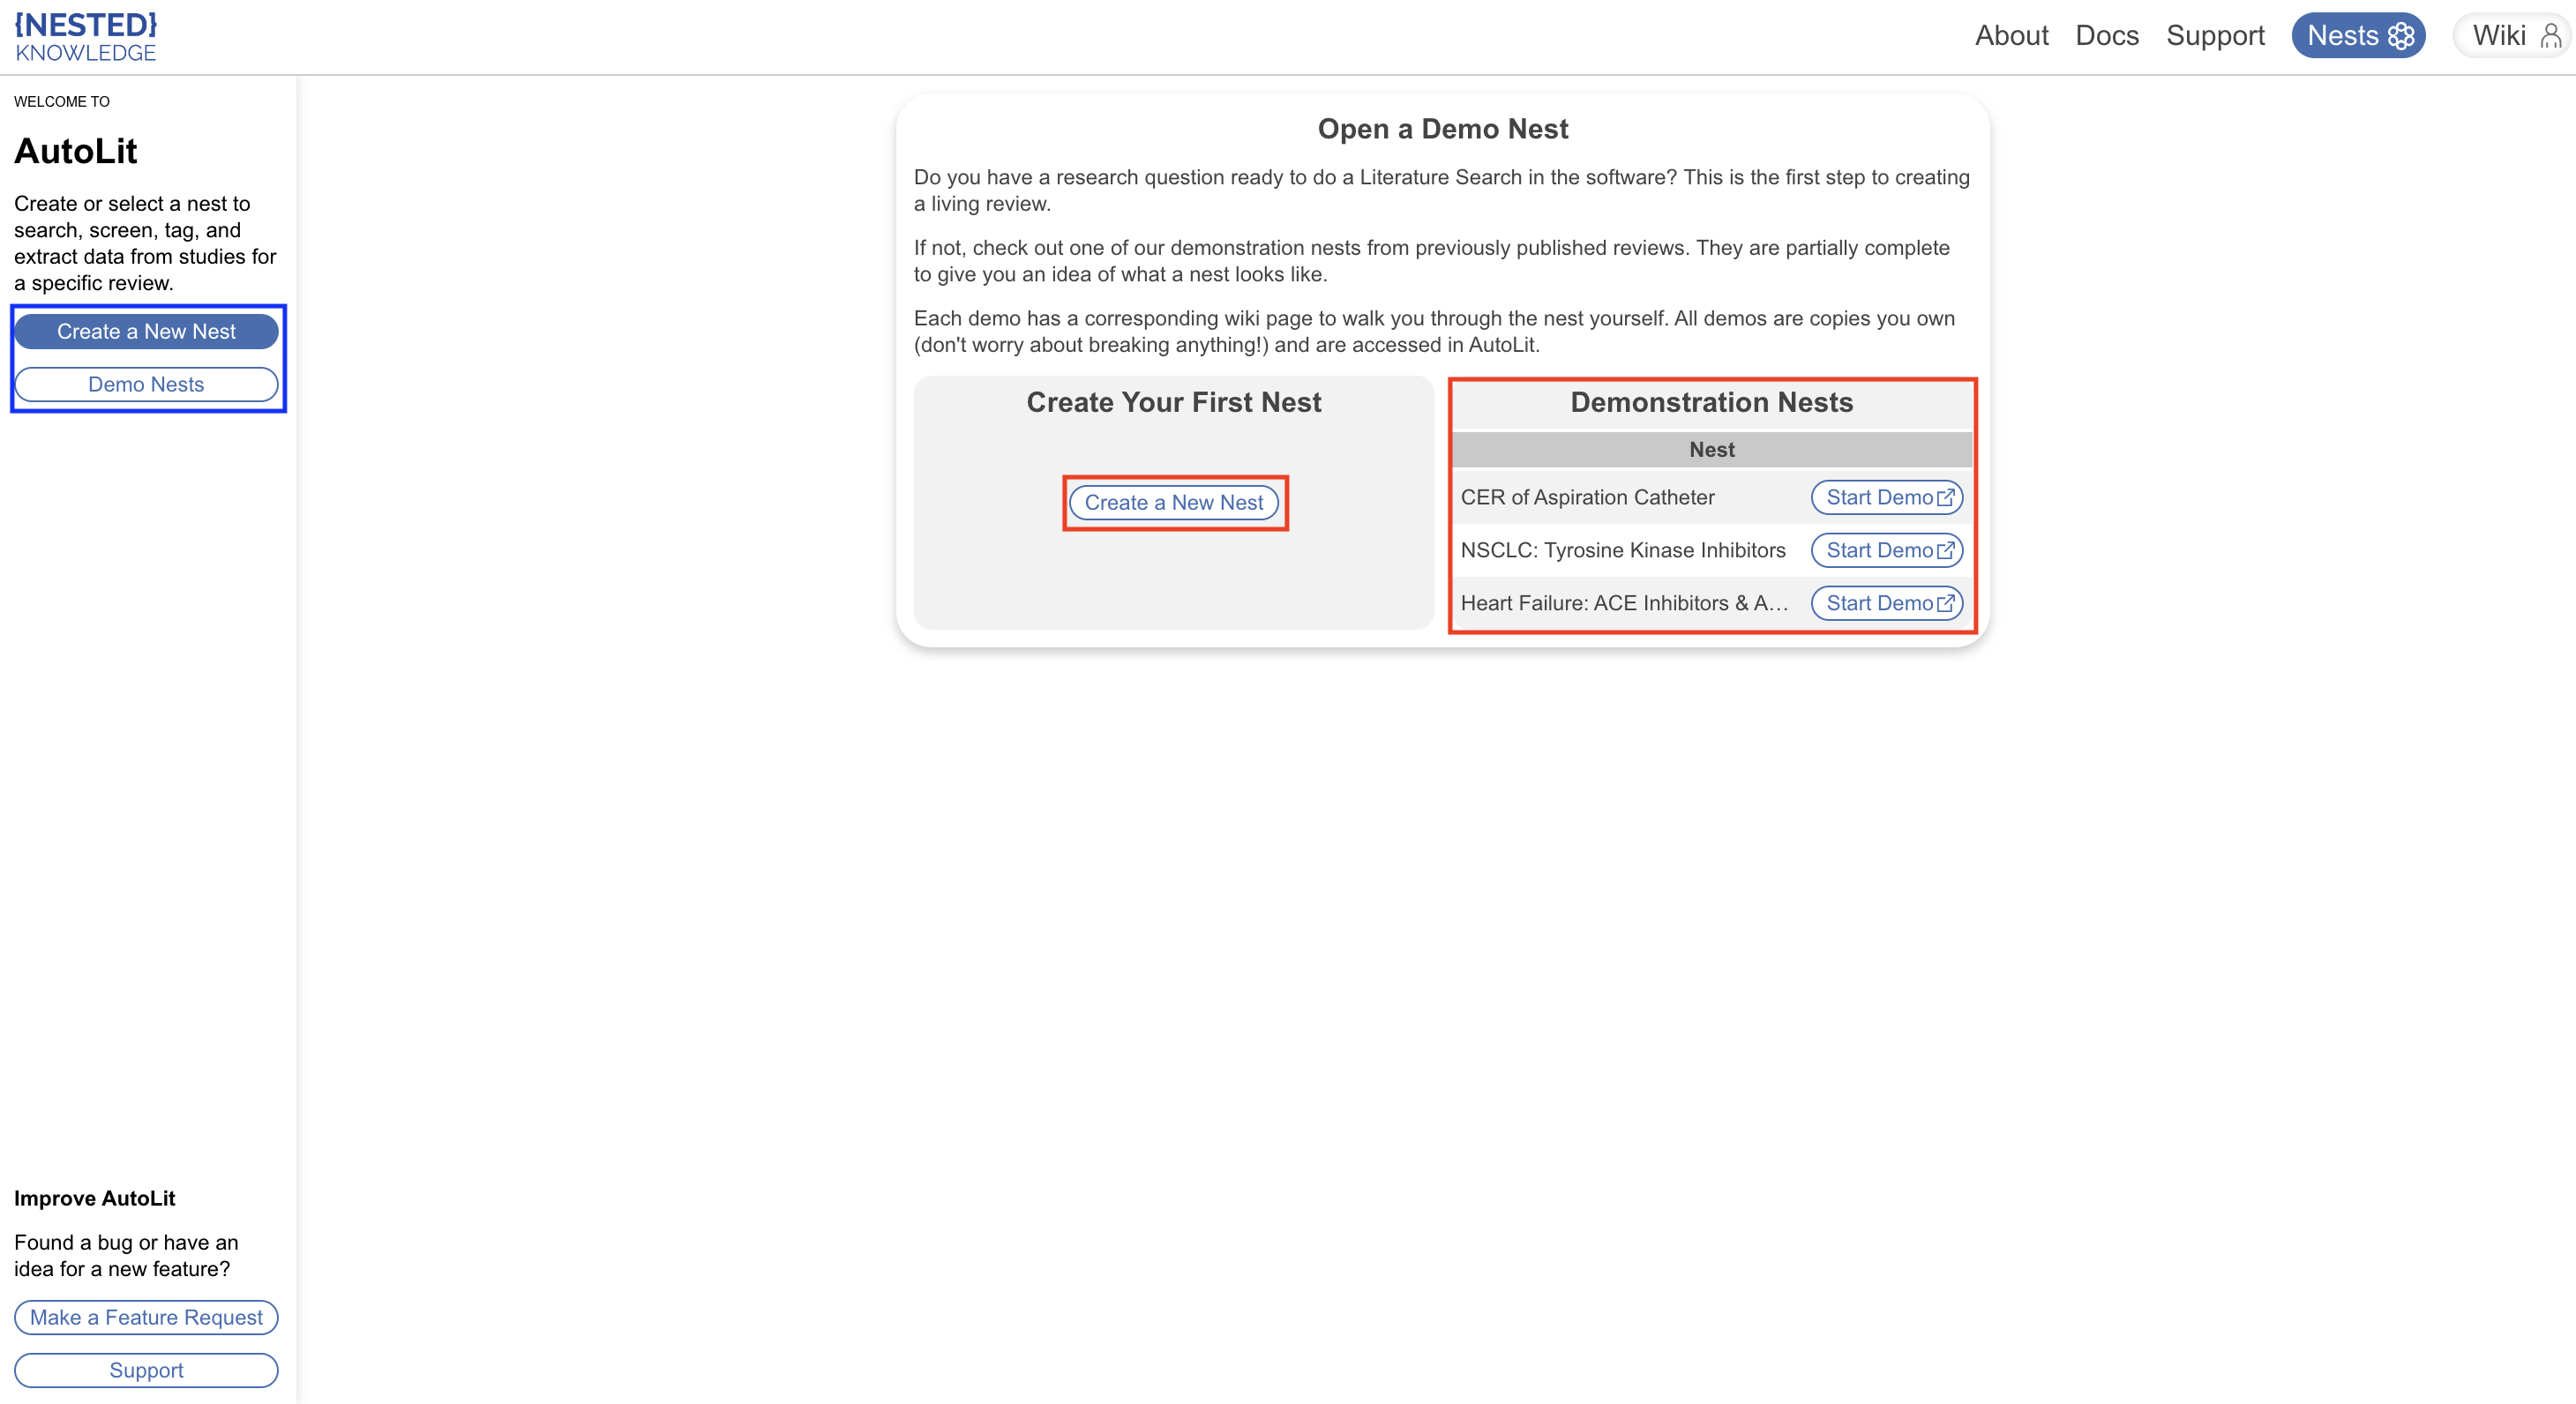
A Nest® is the Nested Knowledge term for an updatable, collaborative review project. Be sure to look over our list of Key Definitions in Nested Knowledge before you launch yourself in! As a first-time user, you’ll see the following screen: creating a new nest or opening up a demo nest can be chosen from in the middle (red) and after you create your first nest, these actions can be done on the left panel (blue).
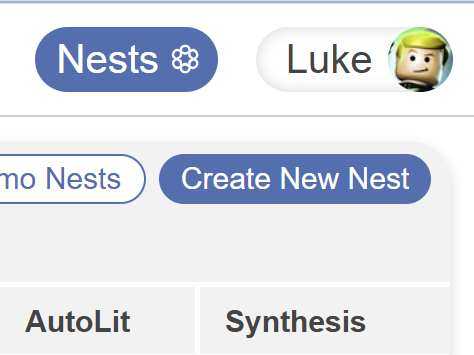
After creating your first nest, anytime you return to the Nests page, it will list all nests to which you have access and you can create a new nest on the right hand side:
Practice in a Demo #
If you would prefer to practice in a nearly-complete project to guide you on nest building, you can see how here.
Name your Nest #
You can choose any name for your nest, but we recommend noting a subset of: the Population, Disease, Intervention(s), interested parties, and/or other unique identifier(s).
Create Your First Nest #
At the free tier, you can create one demo nest or one non-demo nest. When you create your first non-demo nest, you will be placed in the Literature Search page of an empty nest:
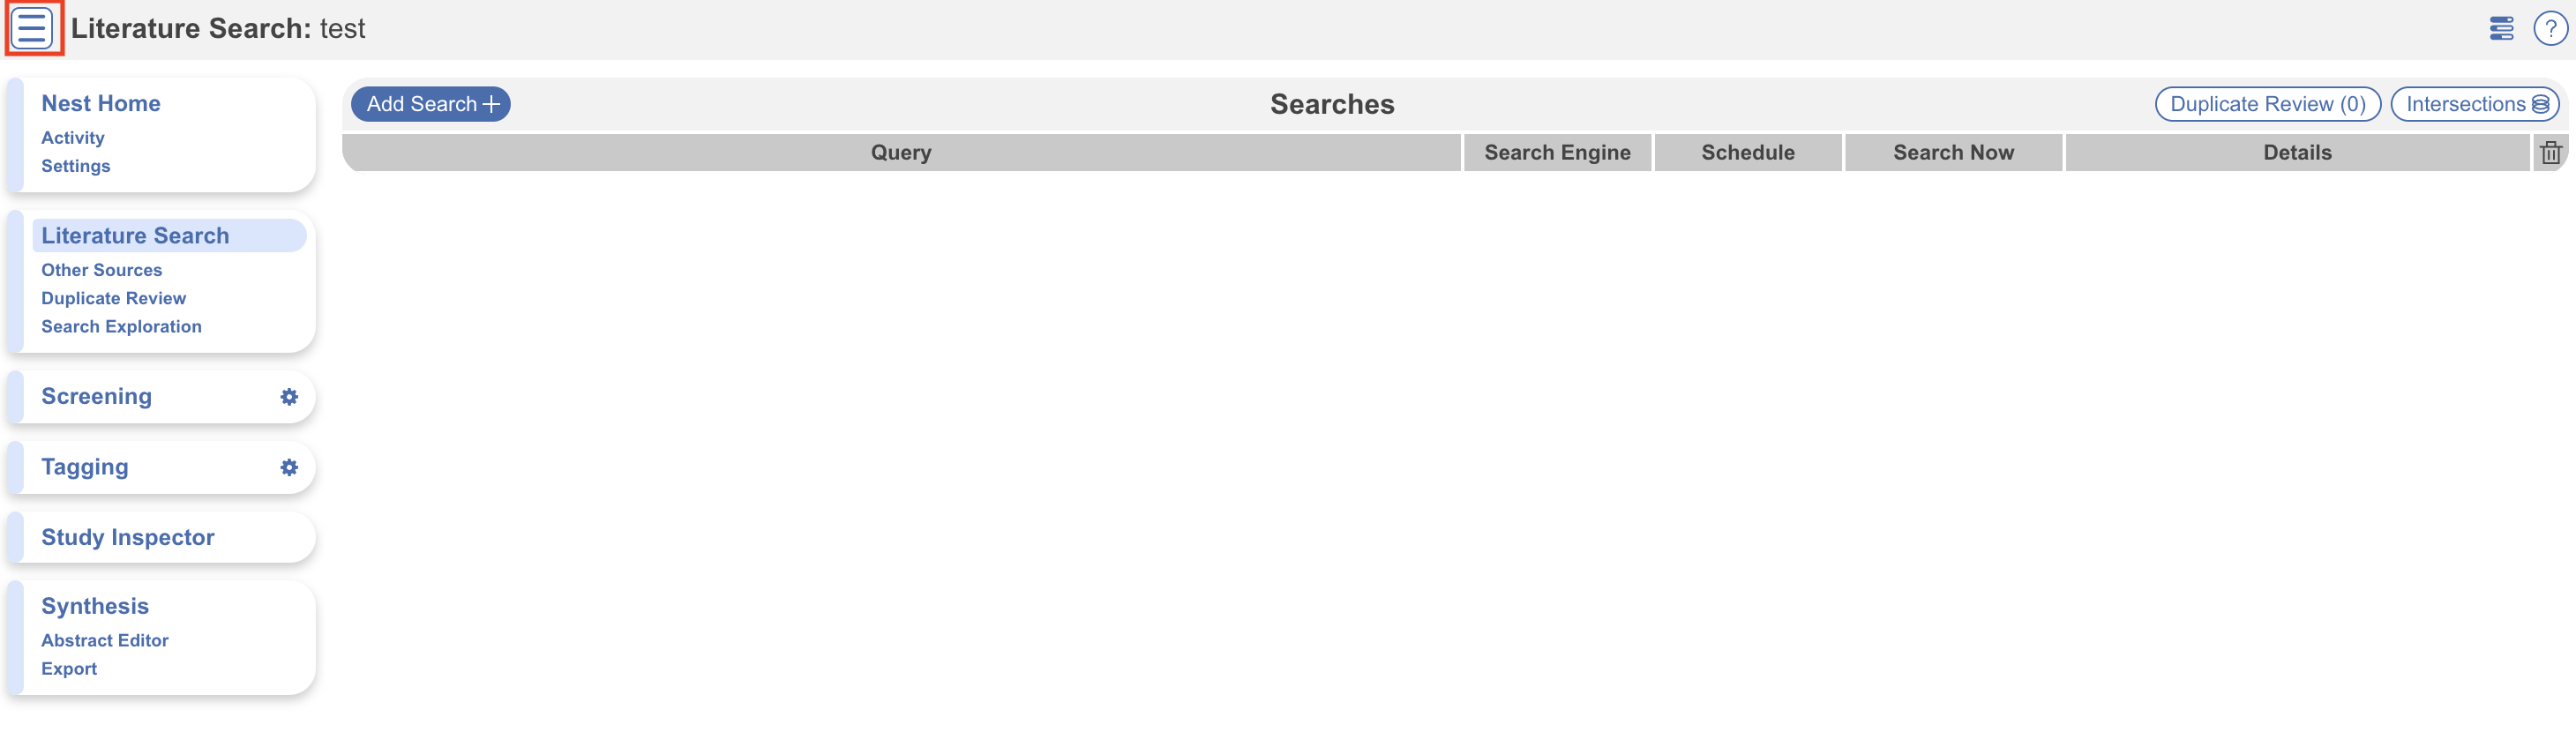
If the menu side bar is closed, you can open it using the icon in the top left (red). Here, you have several options and resources accessible to you:
Add a Protocol #
In the Nest Home module, use the Protocol Editor you can add a protocol by clicking “Edit” in the Protocol section in the main screen.
Add a Literature Search #
Your nest will not have any records until you add a Search, Import studies in Bulk, Add studies individually, or Bibliomine an existing paper.
Optional: Search Exploration #
If you are unsure on how to build a query, but have a review topic in mind, you can use Search Exploration. There, you can enter any concepts of interest and expand on your initial ideas based on AI recommendations of additional terms and review of candidate studies. It also automatically generates a query that you can use directly to build your search in the nest.
Links #
The icons in the top right are there to provide you with progress updates and guidance.
Nests takes you to your AutoLit Homepage list of nests to access.
Horizontal Bars icon: shows you the progress of jobs working in the background. Here you can view all active, completed, and failed Jobs (such as recurring searches, PDF import, etc.) that are running in the background in your nest.
In some cases, such as running searches in Literature Search or Search Exploration, an active job will restrict new activities, such as adding a new search while that Job is active.
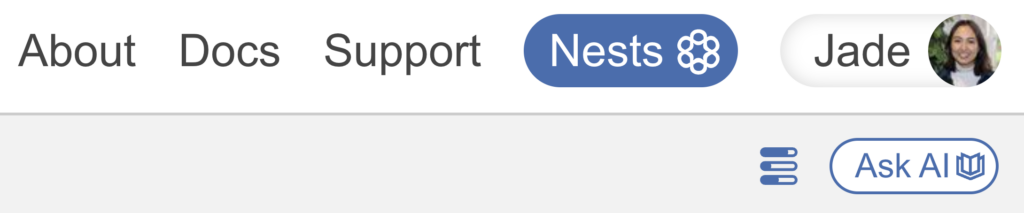
Ask AI #
At any time, if you need help or would like to ask a question about the software, or what to do next, Ask AI can be a very helpful tool.
Next Steps #
Not sure what to do next? Check your Nest Settings to ensure you have configured your research project to your preferences. Then, if you have added a Literature Search, move on to Screening studies!
If you wish to delete a nest in order to start again or open a demo on the free trial, this must be done in Nest Settings. Scroll to the bottom and select Delete.
Start a Free 30-Day Pilot #
Explored all there is to offer at the free tier level? You’re welcome to start a free academic or business-level pilot for 30 days to access full functionality of the software, no strings attached, just to see if it’s for you. See here for instructions. For access to the enterprise level pilot, contact us!