
Embase is Elsevier’s biomedical literature database — one of the most comprehensive and carefully indexed sources for published studies and conference abstracts, and a mainstay of regulatory, HTA, and publishing work. The integration brings Embase directly into Nested Knowledge, so you can search it and pull records into your nest without leaving the platform. That keeps search, execution, de-duplication, and record management in one place rather than exporting and re-importing by hand making living reviews far easier to refresh.
A Note on Subscriptions #
The Embase API is not included in Elsevier’s free-access tier, even for academic and non-commercial users. Full API access requires that your organization holds an Embase subscription, and commercial organizations additionally require an active API subscription arranged through their Elsevier Account Manager. If you are unsure of your organization’s subscription status, contact your Elsevier Account Manager or institutional librarian before requesting credentials.
Connecting Embase #
Embase is enabled once at the organization level, so connecting it makes Embase searching available across all of your organization’s nests. You’ll need your Embase credentials from Elsevier.
In Organization Management → Integrations, find the Embase panel and enter the API Key and Institutional Token provided by Elsevier, then select Save. Connecting or updating the integration is limited to Organization Owners and Admins.

Obtaining your credentials #
The Embase integration authenticates using two credentials issued by Elsevier: an API Key and an Institutional Token. Both are credentials offered to Embase subscribers, for the purpose of securely providing access to the licensed data and platform.
Step 1: Create your API Key
The API Key is self-service and can be generated in a few minutes on the Elsevier Developer Portal.
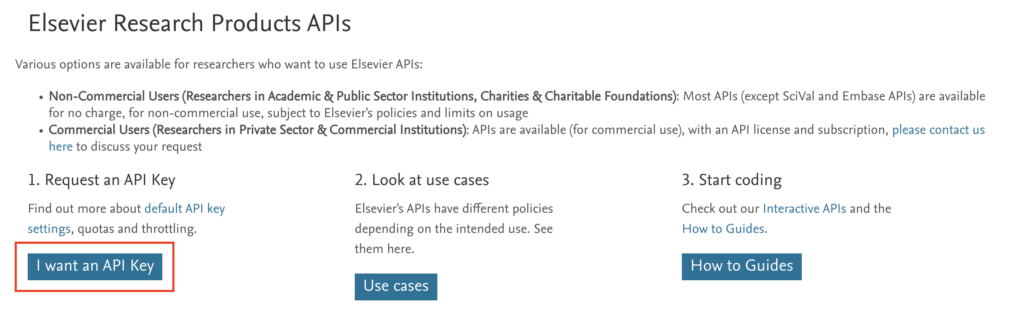
- Go to the Elsevier Developer Portal and select I want an API Key.
- Sign in using your institutional email address. If you do not yet have an Elsevier account, you will be prompted to register and create a password. Using your institutional email matters — it is how Elsevier verifies your affiliation in the next step.
- Once signed in, select Create API Key, give the key a label (e.g. “Nested Knowledge integration”) and accept the API service agreement.
- Copy the generated key and store it securely.
Step 2: Request your Institutional Token
Unlike the API Key, the Institutional Token cannot be generated in the portal — it is issued manually by Elsevier’s API support team on request.
- Email apisupport@elsevier.com from your institutional email address.
- Include your API Key in the message — the token Elsevier issues will be tied to that specific key.
- Briefly state the purpose (e.g., remote API access for use with the Nested Knowledge platform).
Because tokens are issued manually, allow a short turnaround for Elsevier’s response. Once received, treat the token like a password: it grants subscription-level access from any location.
See the Embase API guide for more. Once obtained, input this information into Integrations and hit Save.
Searching Embase #
Once connected, an Embase search runs alongside your other database searches rather than as a separate export. Build your query in Embase, then bring it across: paste the search string into Nested Knowledge and select Add. Records returned from Embase are de-duplicated against the rest of your nest and appear alongside records from your other sources, so there’s nothing to reconcile by hand.
Embase will now be displayed in the Search Engine dropdown along other automatic search engines in Nested Knowledge. The date filter and schedule work as normal. After inputting your query, you may also wish to confirm the results in Embase itself by selecting Link to Embase search. This auto-copies your query allowing you to paste it directly into the Embase search box (once signed in).
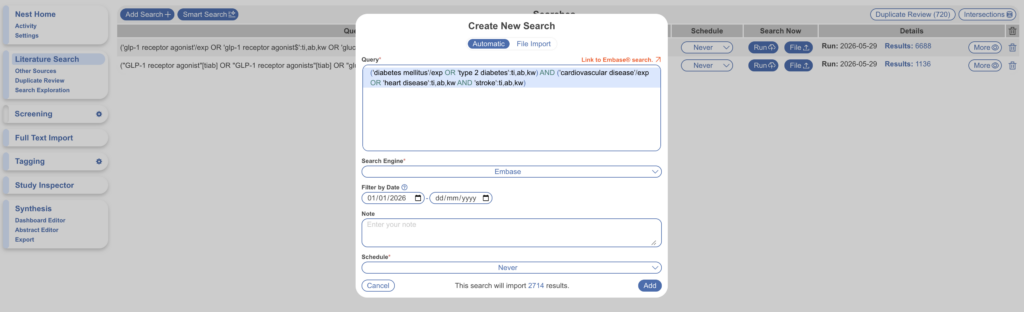
An Embase search query inputted into Automatic Search.
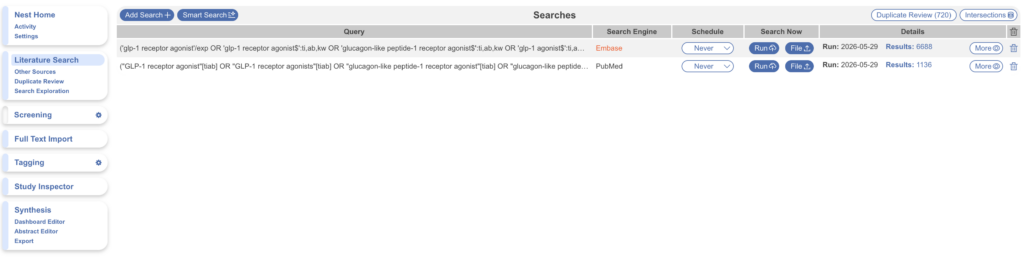
A finalized Embase search added to existing searches.
Embase records in your nest #
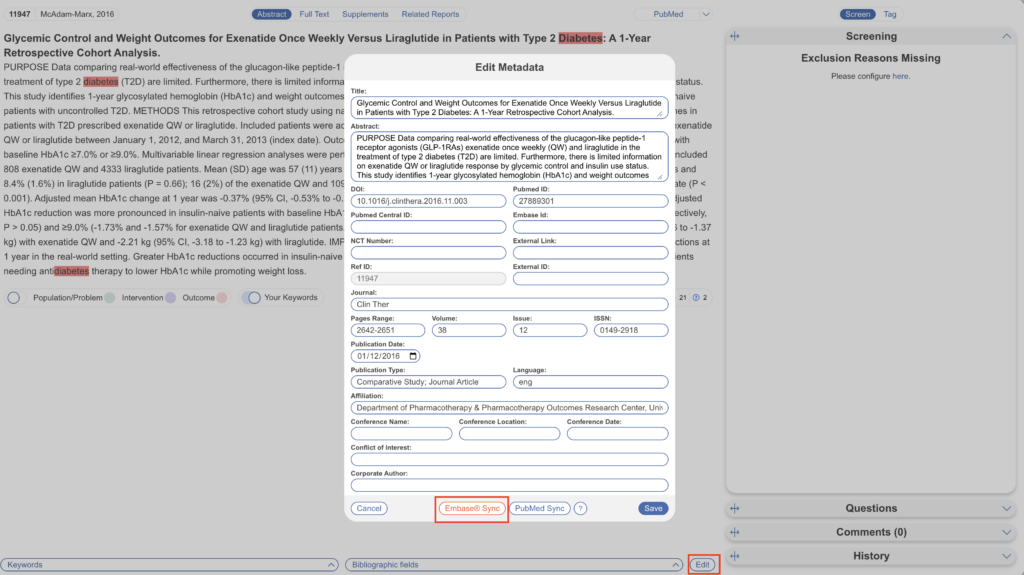
Records will appear as normal/expected but if you notice a record is missing certain bibliographic data, you may run an Embase Sync. Navigate to the record (either in the module queues or in Study Inspector) and select Edit. Then select Embase Sync. This fills in gaps directly from the source, giving you a complete record to screen and extract against.
This can also be performed as a Bulk Actions to multiple records in Study Inspector.